- Store
-
Support CenterGuides, License, ContactDownloadDownload installerChat SupportChat with a TechnicianPre-Sales InquiryChat with a Sales Rep
Mac's Disk Utility serves as an essential tool for periodically wiping your hard drives and external storage devices. Is the Erase button on your Mac Disk Utility greyed out? Find out why and how to fix the Erase button greyed out Mac Disk Utility in this guide.
Table of Contents
Mac's Disk Utility serves as an essential tool for overseeing, partitioning, and periodically wiping your hard drives and external storage devices. However, it can be rather frustrating when you encounter the 'Erase' button grayed out in Disk Utility for reasons unknown. This issue perplexes users and can pose a significant roadblock in scenarios where data security, drive maintenance, or system reinstallation are vital.
This article from EaseUS will investigate the issue of the Erase button greyed-out Mac Disk Utility. We will examine potential causes for this problem and, most importantly, offer practical solutions for resolving it.
To tackle the frustrating issue of the Erase button greyed-out Mac Disk Utility, you'll need to employ some effective solutions. We'll explore three approaches, providing you with detailed instructions to help you resolve the problem:
If you find that the 'Erase' button in Mac Disk Utility is unresponsive or grayed out, this issue may be attributed to system partitioning or security configurations. Initiating Recovery Mode on your Mac can provide more robust access to Disk Utility, allowing you to bypass specific limitations and effectively manage the situation. Follow the steps given below to boot into Mac Recovery Mode to fix the issue at hand:
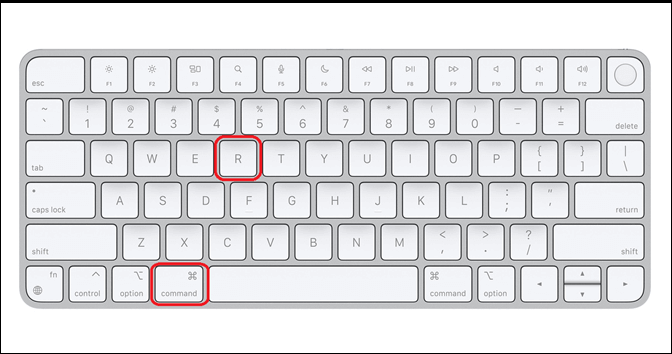
Step 1. Turn on your Mac and press and hold the "Command + R" keys until you see the Apple logo or spinning globe to enter Mac Recovery Mode.
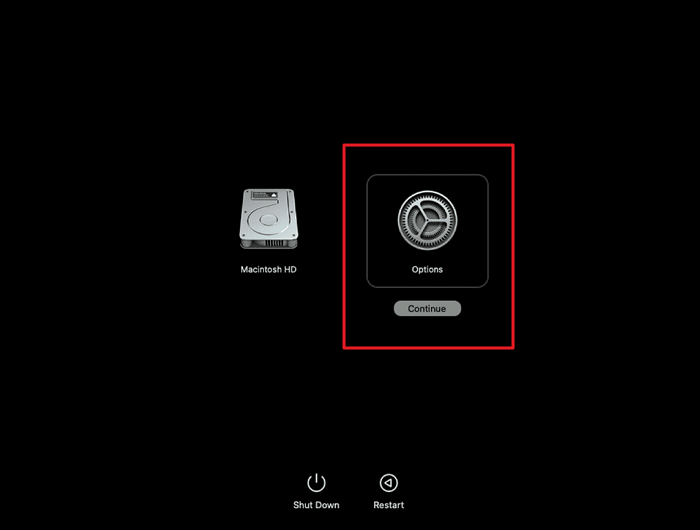
Step 2. For new Mac devices with M1 and later chipsets, you need to hold down the "Power" button until you see the "Options" screen. Here, click "Continue" to enable Mac Recovery Mode.
Step 3. Choose "Disk Utility" from the available options, and within "Disk Utility," locate and select the drive or storage device you want to erase. If the 'Erase' button is no longer greyed out, you can proceed to erase the drive.
This method is from the Apple forum. Feel ease when following the instructions. Does it help? If it does, share this article to help others.
When the 'Erase' button is greyed out in Mac Disk Utility, it could indicate potential issues with the startup disk or file system. Running the Disk Utility's First Aid feature can help identify and repair any disk errors that might be causing the problem. Use the following steps to run First Aid in an effort to resolve the Erase button greyed-out Mac Disk Utility issue:
Step 1. On your Mac, navigate to the "Applications" folder through the Launchpad and access "Utilities." Within "Utilities," double-click "Disk Utility" to launch it.
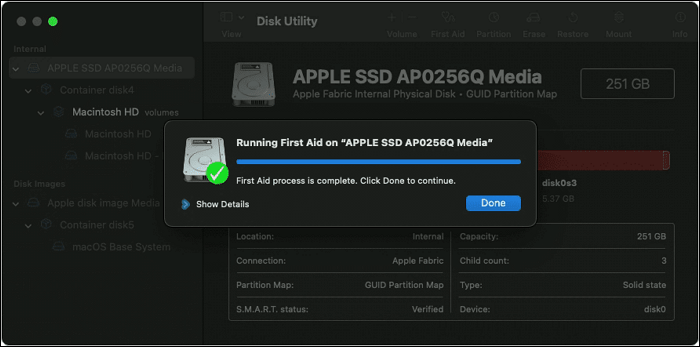
Step 2. Here, locate and select the affected drive or volume with the greyed-out 'Erase' button in the left sidebar. Now, from the top menu, click "First Aid" and run it. Once the process is complete, check if the button is restored.
Also Read:
If the 'Erase' button remains greyed out after trying the previous fixes, you can attempt to format or erase the disk in Internet Recovery Mode. Internet Recovery provides a more extensive set of tools and can be useful if your Mac's startup disk or recovery partition is compromised. Given below are steps to format/erase the disk in Internet Recovery Mode:
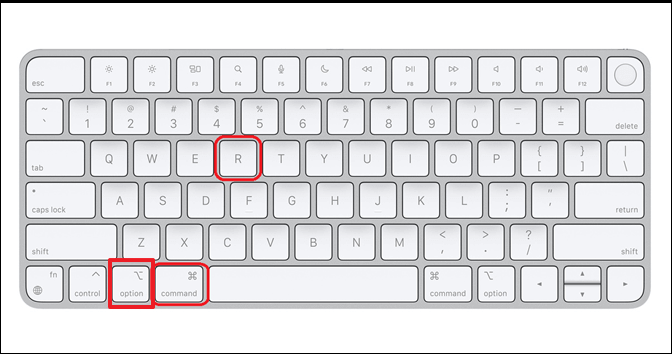
Step 1. After making sure your Mac is turned off, power it on and immediately press and hold the "Command + Option + R" keys. Keep holding them until you come across a message saying, "Starting Internet Recovery. This may take a while."
Step 2. Now, use Wi-Fi settings to connect your device to the internet and wait for it to reboot in Recovery Mode. For the new Mac devices with M1 and later chipset, Recovery Mode and Internet Recovery Mode have been combined. So, for these devices, press and hold the "Power" button until "Options" appears and then select "Continue" to enable Recovery Mode.
Step 3. Within Recovery Mode, choose the "Disk Utility" from the available options. Now, if you are using a Mac with macOS Catalina or later, select "Macintosh HD – Data," click the "-" sign, and tap "Delete" to confirm it. For users of macOS Mojave or earlier, you need to select "Macintosh HD" and press "Erase."
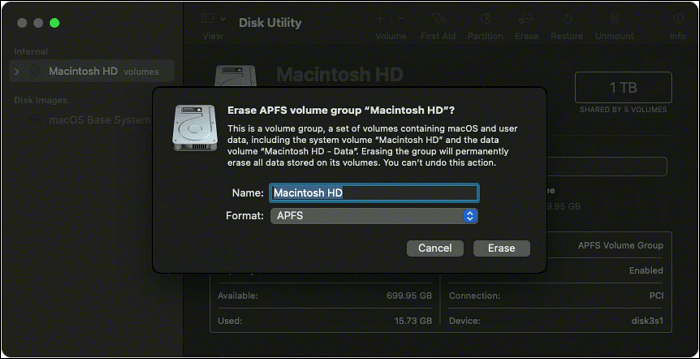
Step 4. Now, choose the required parameters to format the hard drive. The recommended ones are naming your hard drive and choosing "APFS" as the file system; for users running macOS 10.12 or earlier, it is "Mac OS Extended." As for the partition scheme, keep it "GUID Partition Map" and click "Erase."
For a solution that offers simplicity and ease of use, consider using EaseUS NTFS for Mac when you encounter the Erase button greyed-out Mac Disk Utility. This software offers a straightforward alternative for resolving the issue. It is particularly valuable if you're new to the intricacies of macOS or if you simply prefer a user-friendly interface for such tasks.
EaseUS NTFS for Mac allows you to seamlessly manage and erase NTFS-formatted drives on your Mac. NTFS is a common file system used in Windows, and Macs sometimes face limitations in handling it. This tool bridges that gap, making it easy to reformat or erase NTFS drives, whether they're internal or external. It empowers the native NTFS driver to provide direct read, write, and edit access to external hard disks.
This software stands out thanks to its user-friendly interface, tailored for novice users. It has been designed with a focus on simplicity, ensuring accessibility for all, regardless of technical expertise. Its user-friendly nature makes it the ideal choice for effortlessly addressing the 'Erase' button problem without any unnecessary complexities.
Explained below are the steps to fix the Erase button greyed-out Mac Disk Utility issue using EaseUS NTFS for Mac:
Step 1. Launch EaseUS NTFS for Mac on your Mac, click "I already have a license" and enter your code to activate this software.
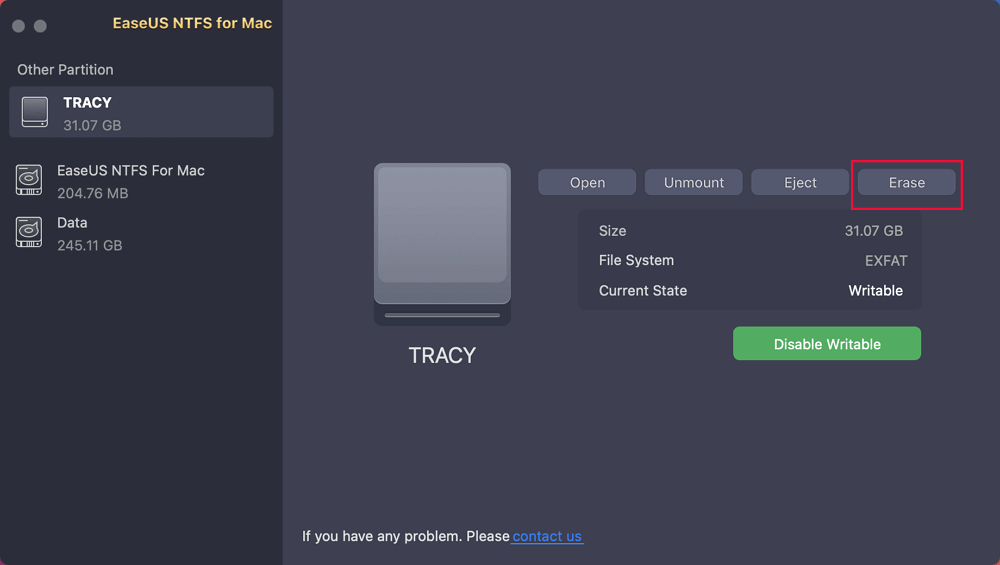
Step 2. Connect the target external hard disk to your Mac, locate it and choose "Erase" to move on.
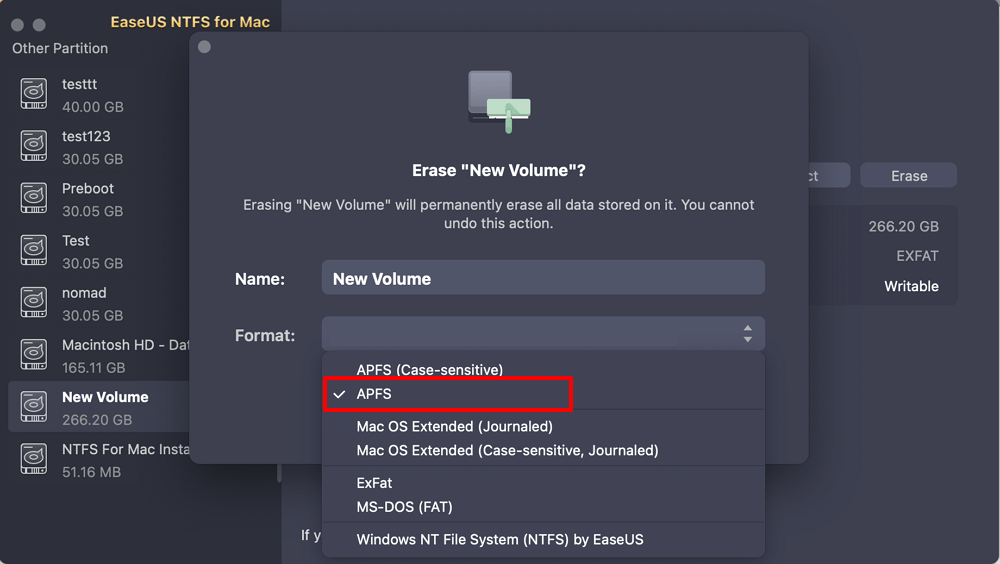
Step 3. In the Format box, select the "APFS" option in the scroll down menu as the new file system.
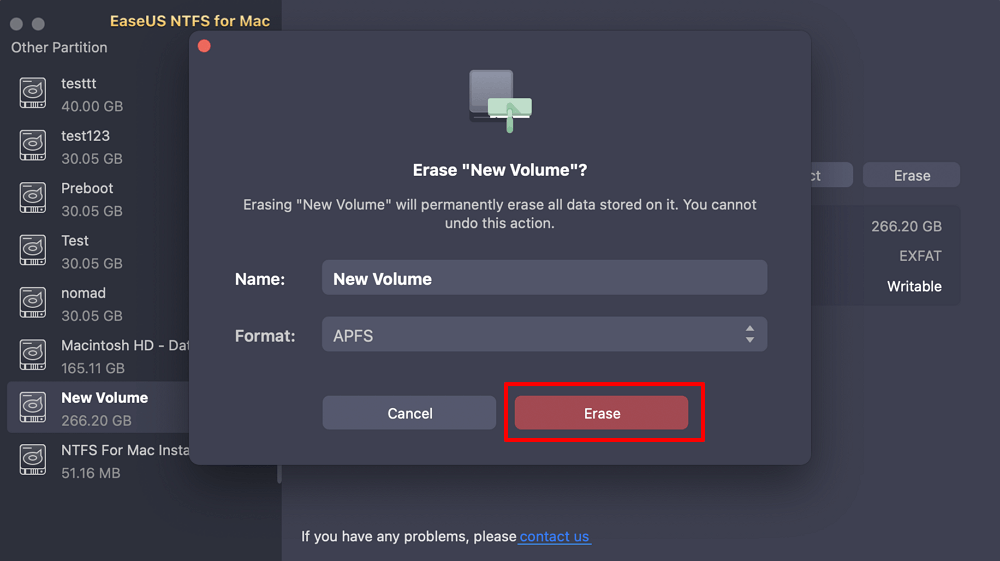
Step 4. Hit on the "Erase" button to confirm the format action and erase all data stored on this external storage device.
Key Features of EaseUS NTFS for Mac
If you find EaseUS NTFS for Mac to be a valuable solution for addressing the greyed-out 'Erase' button issue, consider sharing this tool with fellow Mac users. Ease of use and simplicity are essential qualities, especially for those new to Mac systems. By sharing this information, you can help others navigate this common challenge more effectively.
Understanding why the 'Erase' button becomes greyed out in Mac Disk Utility is essential for preventing and troubleshooting this frustrating issue. There can be several underlying causes, and awareness of these factors can help you tackle the problem effectively. Summarized below is a list of possible reasons behind the Erase button greyed-out Mac Disk Utility:
If you've encountered the frustrating problem of a 'disabled Erase button' on your Mac and managed to find a solution, share it with fellow Mac users. Collaboratively identifying the underlying causes and drawing insights from one another's experiences can significantly aid in problem-solving. Sharing your expertise within the Mac community serves as a valuable means of supporting others in overcoming technical hurdles.
In conclusion, encountering the issue of the Erase button greyed-out Mac Disk Utility can be a perplexing roadblock. This article has guided you through multiple solutions to address this frustrating problem and regain control over your storage devices. From booting into Mac Recovery Mode to running Disk Utility's First Aid and leveraging the power of Internet Recovery Mode, we've explored various options to help you resolve this issue.
However, one tool that stands out for its simplicity and user-friendliness is EaseUS NTFS for Mac. This tool bridges the compatibility gap, enabling you to work with NTFS-formatted drives on Mac. Whether you need to erase, format, or manage such drives, it simplifies the process.
You May Also Like:
If you find yourself with lingering questions or require additional insights regarding the Erase button greyed-out Mac Disk Utility, rest assured that you're not the only one. Here, we've compiled responses to frequently asked questions to assist you in effectively addressing this issue:
1. How to fix the erase button grayed out in Mac Disk Utility?
Boot into recovery mode and try again: Restart the MacBook, then immediately press and hold the Command and R keys until the Apple icon appears. Release the two keys and wait for the macOS Utilities window to appear. From there, choose Disk Utility and try erasing your disk.
2. Why won't my Mac let me erase the Disk Utility?
Several factors can lead to a Mac's Disk Utility not allowing you to erase a drive. This may be due to incompatible file systems, encryption, the drive being in use, physical damage, permissions, and ownership issues, or third-party software conflicts.
3. Why is erase greyed out on Mac?
The 'Erase' option in Mac's Disk Utility may appear greyed out due to multiple reasons. These include the file system of the drive, encryption settings, drive usage, physical damage, permissions, and third-party software conflicts. Understanding the underlying cause is crucial for selecting the appropriate solution.
Related Articles - ALSO ON EaseUS SOFTWARE
How to Delete Files from Seagate Exteranl Hard Drive Mac & Windows [2026 Guide]
![]() Banu/2026-01-05
Banu/2026-01-05
FAT32 Formatter Mac for USB | Top 3
![]() Cici/2025-07-07
Cici/2025-07-07
[Full Guide] Fix 'WD My Passport Is Read-Only On Mac' Error 2026
![]() Banu/2026-01-05
Banu/2026-01-05
What Is NTFS for Mac, Everything You Should Know About It
![]() Daisy/2025-06-26
Daisy/2025-06-26
Copyright © 2004 - 2023 EaseUS. All rights reserved.