- Store
-
Support CenterGuides, License, ContactDownloadDownload installerChat SupportChat with a TechnicianPre-Sales InquiryChat with a Sales Rep
G drive is an external Hard Drive. It can be used on both Windows and Mac but, how to use G Drive External Hard Drive on Mac? This guide will answer the question with a step-by-step method.
Table of Contents
The G Drive External Storage drive is the best to store data and files. You can easily connect the external drive on your Mac and transfer essential data and files through it. But how to G Drive external hard drive on Mac? This guide will answer your query. We will also review the step-by-step guide on setting up and using G drive on Mac. In addition, we will look at why your external hard drive is not showing up on Mac. We will also recommend a third-party utility to make the task easier and more convenient. So, let's get into the details.
View the Necessary Information to Use G-Drive External Hard Drive on Mac:
| ⏲️Duration | 3 minutes of reading |
| ⛏️Required Tools |
✔️EaseUS NTFS for Mac ✔️Disk Utility |
| 🎈Goal | To fix the G-drive not showing up on Mac and use G-drive successfully |
| 💻Supported System | macOS, including Mac and Mac Book Pro; |
| ✍️Solutions |
1️⃣Connect G-Drive External Hard Drive on Mac 2️⃣Enable Read and Write Right to G-Drive on Mac - Most Efficient |
When you plug in an external hard drive on Mac. It usually appears on the Finder's tab. But at times, when you plug a hard drive into your system, it does not show up. The reasons why G-drive is not showing up on Mac are listed below:
Next, we will provide solutions to fix the error and let you use the G-drive hard drive on Mac successfully. If you like this tutorial, click the link below and share it with others in need.
The steps are listed below to set up D Drive external hard drive. It will also answer your query "How to use G Drive Hard Drive on Mac".
The steps to connect G-drive External Hard Drive on Mac are listed below:
Step 1. Plug the hard drive on your Mac. The hard drive can also connect via USB to your Mac's right port.
Step 2. Now, check if the G drive appears on your desktop.
Step 3. Double-click on the G drive icon on your desktop and open it. You can view the files, folder, and data already available in the G drive or copy and transfer data into the G Drive External Hard Drive.
After going through the above step, if your External Hard drive still does not appear on your desktop, even if it is connected, you can go to Finder Window. If the external drive is still not present, see the next section.
Hard drive, if previously used on Windows drive, needs to be changed when they connect with Mac. To connect the hard drive on Mac, change the format to avoid data loss. You can use the third-party utility EaseUS NTFS for Mac to change the drive format when you don't have permission to read and write to an external hard drive.
Before you begin changing the drive format, backup all the data to another external drive to avoid any data loss.
To change the format using EaseUS NTFS for Mac. the steps are listed below:
Step 1. Launch and activate EaseUS NTFS for Mac. Click "I already have a license" to unlock this software.
Step 2. Connect an NTFS drive to Mac, EaseUS NTFS for Mac will automatically detect the device. Select your drive and you'll see it's now marked as 'Read-only". Click "Enable Writable" to add read and write rights to the drive.
Step 3. When the state of NTFS drives turns into "Writable".
Step 4. EaseUS NTFS for Mac will pops up a window to help Mac get access to the NTFS drive:
Step 5. When EaseUS NTFS for Mac restarts, you can then open to check, read, write, and even modify saved data on the NTFS device.
The useful features of EaseUS NTFS for Mac are listed below:
Sometimes the new G drive external hard drive does not have partitions. It is preferable to store and organize data in external hard drive partitions, and it evenly allocates the available space to each partition. If your G drive external hard drive has no partition, you can create them using Disk Utility on Mac. The steps are listed below:
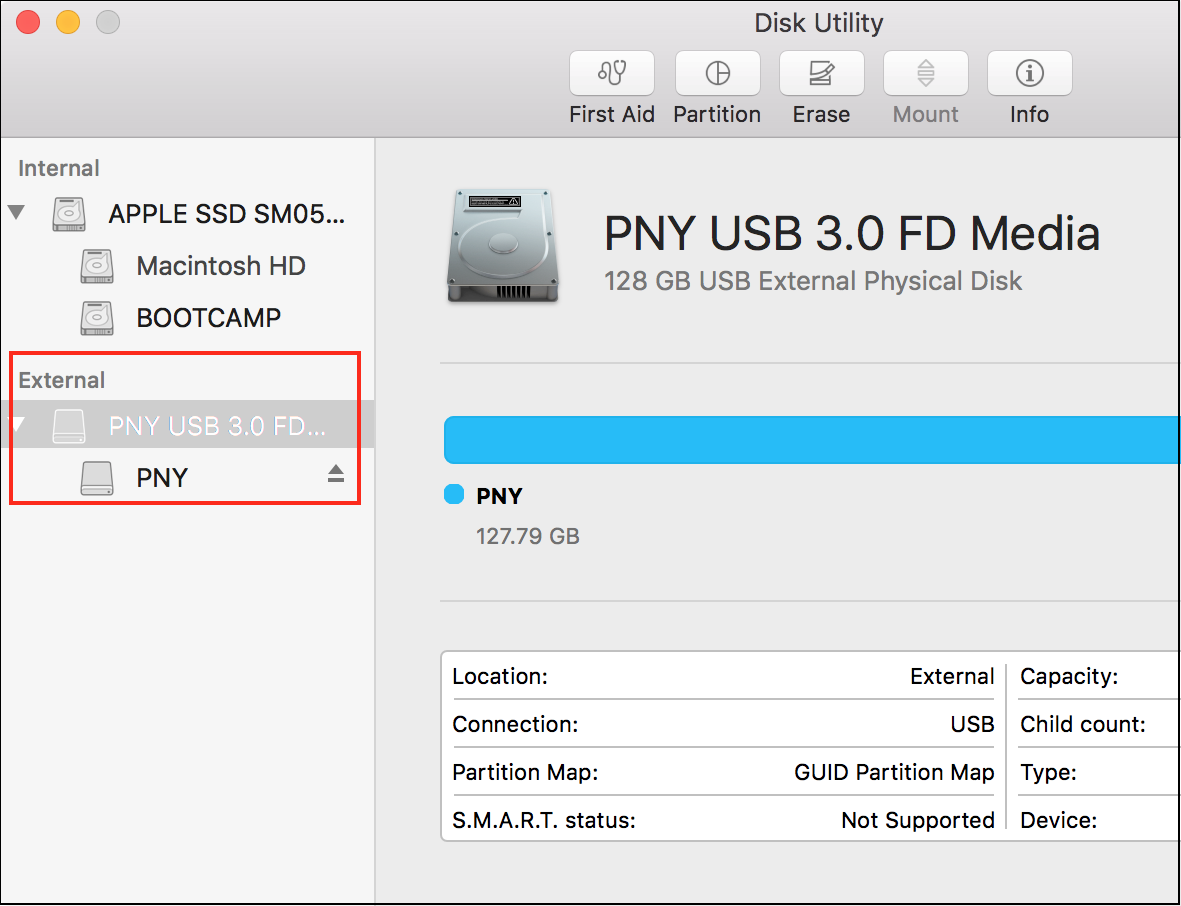
Step 1. Open Disk Utility on your Mac.
Step 2. Select the external drive on your desktop.
Step 3. Now click on the "Partition" icon.
![]()
Step 4. Select the number of Volumes.
On the volume Scheme menu, click on the first partition. It will highlight the selected partition in blue.
Step 5. You can give each partition a specific name.
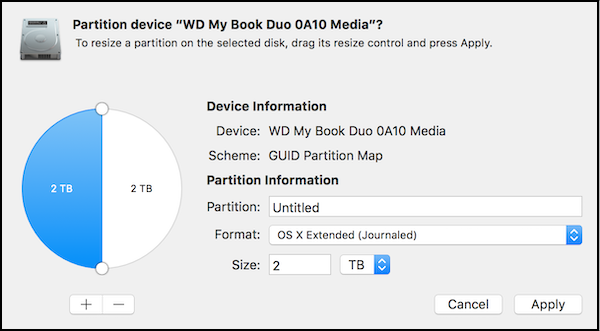
Step 6. Once done, a pop-up window will ask if you are sure about your choices.
Once the loading is completed, you can see all partitions on the left side of the disk utility window.
Windows and Mac use different file formats for the external hard drive. Thus, a hard drive cannot be directly compatible with Windows and Mac.
To conclude, a G drive external hard drive allows you to transfer data and copy and paste files and folders. You can even use it to back up your essential data. To understand how to use G drive on Mac, you can use the above-mentioned methods. To make the external hard drive workable, you must change the file format for Windows and Mac separately. We have listed the method of setting up G drive and how to use it. However, for your convenience, we recommend trying EaseUS NTFS for Mac. It is a viable solution to easily read and write on a G drive external hard drive. Also, you can format an external hard drive on Mac. Download EaseUS NTFS for Mac today!
Related Articles - ALSO ON EaseUS SOFTWARE
How to Fix WD My Passport Not Showing up Mac
![]() Banu/2025-06-26
Banu/2025-06-26
How to Fix SD Card Read-Only Mac | 2026 Step-by-Step
![]() Cici/2026-01-05
Cici/2026-01-05
How Do I Fix USB Read Only on Mac? Your Reliable Fixes Are Here
![]() Banu/2025-06-26
Banu/2025-06-26
Top 6 Free NTFS for Mac Users in 2026
![]() Banu/2026-01-05
Banu/2026-01-05
Copyright © 2004 - 2023 EaseUS. All rights reserved.


