- Store
-
Support CenterGuides, License, ContactDownloadDownload installerChat SupportChat with a TechnicianPre-Sales InquiryChat with a Sales Rep
It is expected that Mac users can't write to their USB drives on MacBook. It could be a permission issue, or NTF File system, or a corrupt drive. This post explains and offers solutions that can help fix this issue successfully. Any open who deals with the NTFS drive, then it's best to use the software on MacBook as a permanent solution.
Table of Contents
Often, Mac users face an issue where the external drives like USB or hard drives show "read-only" when plugged in. It can be pretty infuriating when doing critical work or sharing data or files using that USB drive. There are numerous ways by which we can fix this issue pretty quickly. But first, we have to address why this problem happens in the first place.
Unable To Write To Usb Drive On Mac, Why?
How Do I Fix the "Unable Write to USB Drive" Error On Mac? (4 Ways)
There are quite a few reasons why this problem happens. Here we've mentioned the significant issues that are frequent causes of this particular issue.
External drives require permissions to perform read and write operations. To check the permissions, right-click on the USB drive icon and then select the option Get Info. At the bottom of that window, look for the Sharing & Permissions option in the info menu. Click on that; if the permission is Read-only, it is the prevalent reason for this issue.
Mac devices have a long-running history of having trouble with USB ports. Sometimes there are genuine reasons why MacBook has disabled its USB accessories, and it may have happened because of a faulty USB drive or a cable used recently. Along with that, check the power, port, and cable connections. Ensure the USB device is on. In case the MacBook has more than one port, switch the device to the other port.
Sometimes our USB device itself contains an internal error that results in a "read-only" status. It may also be the reason why Mac isn't detecting the USB drive correctly. Make sure that the external device isn't at fault by connecting it to other systems.
It is known that the macOS does not support write permissions for the NTFS file system. So any NTFS Drive will face this issue. But there is a solution. MacBook can write data using additional commands that will enable the NTFS driver available in macOS.
As mentioned above, finding a solution is very easy if we know the root of the leading cause. There are multiple reasons because of which this problem can arise. Mostly all of them have some solution to make it work.
Most of the time, when the issue occurs, it will not be serious. One can fix it by reconnecting the USB device or changing the USB port. If not, then switch the USB lock to offside. However, in some cases, the cause of the issue isn't straightforward and requires a lot of attention.
Here are the solutions that can help to Enable USB writable on Mac OS.
1. Ignore Permission On USB
2. Repair USB Driver With First Aid
3. Add Write Support To NTFS USB
4. Format USB Drive
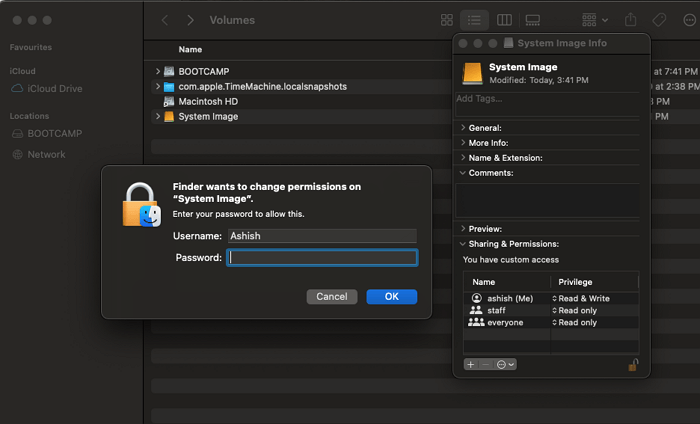
A USB device connected to the MacBook needs owner permission to perform write operations. If the user trying to make changes is not an admin account, the admin will need to assign the user account to the USB drive for the Read and Write privileges.
An admin account, however, has the option to ignore the ownership of all the files. If this option is enabled, the Mac OS treats all the data files in the same manner as they currently belong to the current user. It doesn't matter who is the actual owner. Here are the simple steps to perform this action.
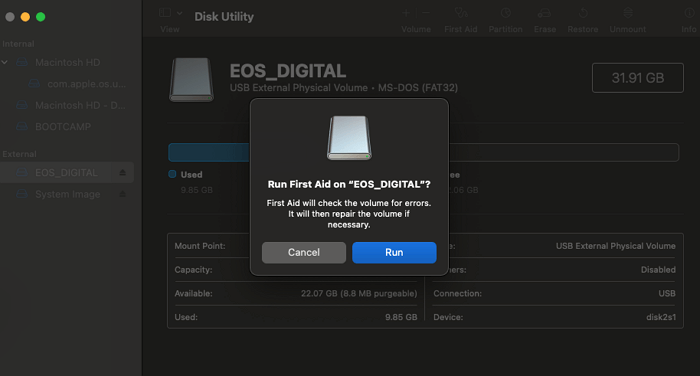
If the USB drive is faulty and needs repairing, then Disk Utility First Aid should be the priority to fix it. It is a safe way to verify and repair some minor issues and errors on an external disk without the risk of data loss. Here are the simple steps to restore a corrupted USB drive with First Aid.
There are various ways to enable NTFS-write support on MacBook, like free software, paid software, or the option to enable NTFS to write permission natively. As we know, Apple still hasn't allowed write support for NTFS. As of now, it can only perform the read action.
However, the option to enable NTFS support by the native method is very hefty and requires a lot of commands and heavy steps. That's why various third-party apps provide this service. One such app is EaseUS NTFS for Mac. It is available for free to download and makes it easy to enable NTFS support by following simple steps.
Features:
Step 1. Launch and activate EaseUS NTFS for Mac. Click "I already have a license" to unlock this software.
Step 2. Connect an NTFS drive to Mac, EaseUS NTFS for Mac will automatically detect the device. Select your drive and you'll see it's now marked as 'Read-only". Click "Enable Writable" to add read and write rights to the drive.
Step 3. When the state of NTFS drives turns into "Writable".
Step 4. EaseUS NTFS for Mac will pops up a window to help Mac get access to the NTFS drive:
Step 5. When EaseUS NTFS for Mac restarts, you can then open to check, read, write, and even modify saved data on the NTFS device.
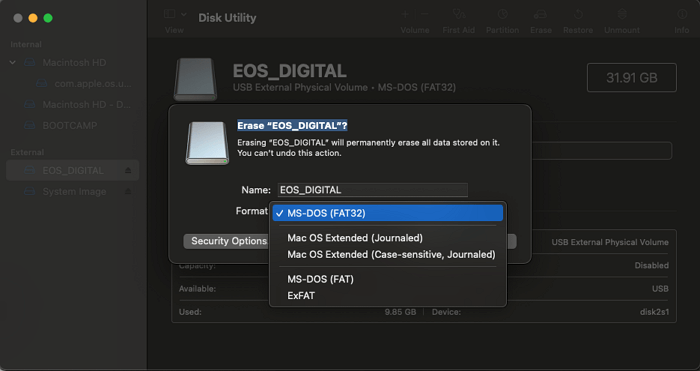
If nothing works out even after performing all the above methods discussed, the only option is to format a USB drive on a Mac. Here are the steps to format a USB drive on Mac.
Post this, any user can read and write on the USB drive. For more available methods, read and learn in the following post:
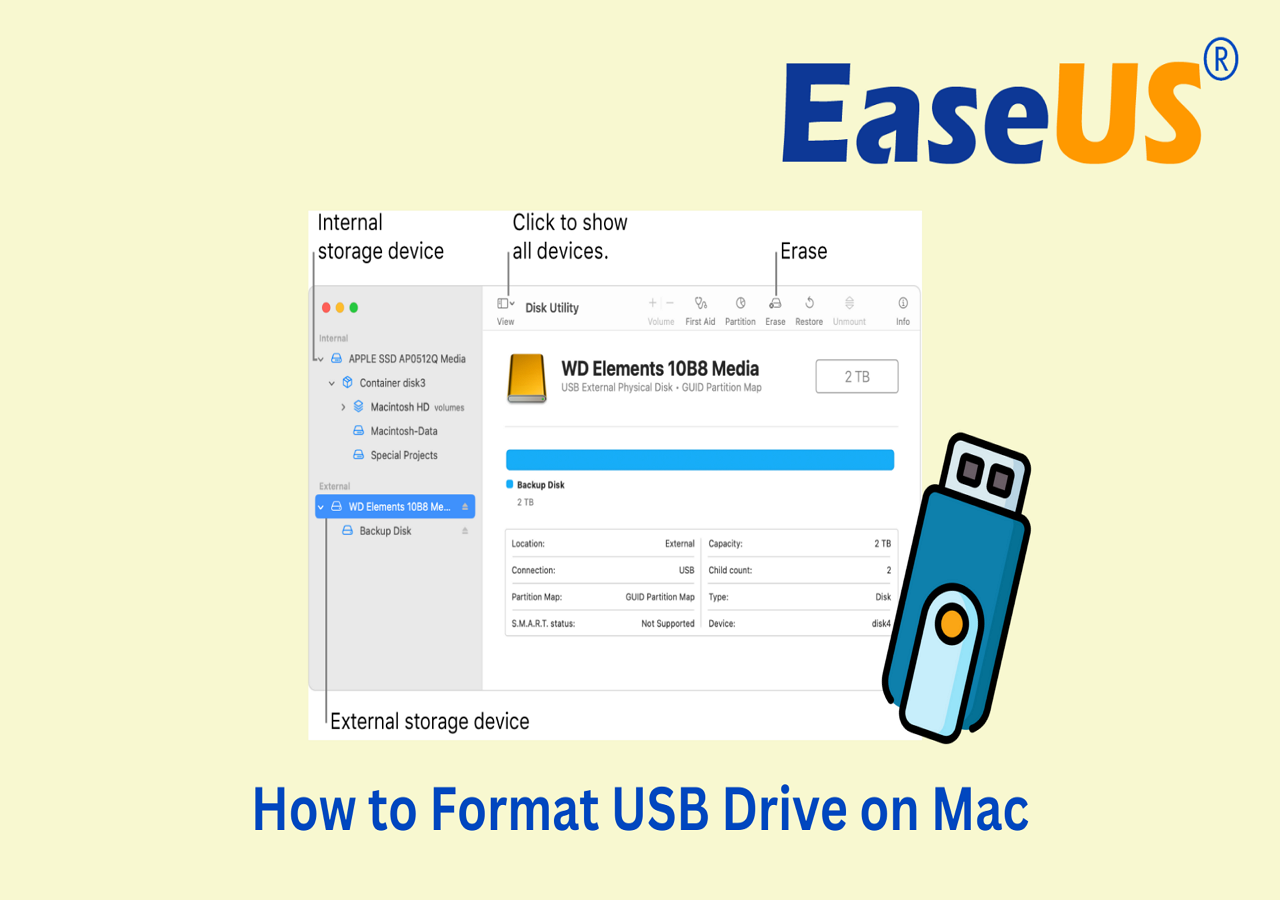
How to Format USB Drive on Mac?
This article covers which formats you can choose for your USB drive and provides three solid ways to help you format a USB drive on a Mac.
In this article, we've discussed the significant reasons why the "Read Only" issue happens. While it occurs randomly at times and a temporary fix should help resolve it, if you are new to it, the post helps to follow the right solution. Right from permission to driver to using any software; all of them ensure that read-write operations work on NTFS.
Related Articles - ALSO ON EaseUS SOFTWARE
Fix 'Can't Eject External Hard Drive' Error on Mac in 5 Practical Ways 2026
![]() Banu/2026-01-05
Banu/2026-01-05
How to Force Erase Disk Mac Terminal [Quick Guide]
![]() Cici/2025-11-11
Cici/2025-11-11
WD Exteranl Hard Drive Shows Read Only on Mac? Why and How to Fix It
![]() Banu/2026-01-05
Banu/2026-01-05
How to Fix WD My Passport Not Showing up Mac
![]() Banu/2025-06-26
Banu/2025-06-26
Copyright © 2004 - 2023 EaseUS. All rights reserved.