- Store
-
Support CenterGuides, License, ContactDownloadDownload installerChat SupportChat with a TechnicianPre-Sales InquiryChat with a Sales Rep
If you are using Microsoft Windows operating system and macOS simultaneously, you may face Lacie read-only mac problems very often. Today we will be discussing the problem and how we can solve it.
Table of Contents
Lacie is one of the most popular hard drives in the market and is known for its reliability. People who use Microsoft Windows operating system and macOS simultaneously have faced Lacie read-only mac problems very often. Today we will be discussing the problem and how we can solve it.
Before tackling the problem, we first need to understand why all the Lacie hard drives end up becoming read-only in mac. The answer to this problem is quite simple. Since the Lacie drive is in NTFS format, it only allows macOS to read. If the drives are in FAT 32 format, it would be easy to write and read at the same time. Converting an NTFS file to FAT 32 drives is easy, but the only problem with that is you will have to format the drive to be able to change it.
Main Content:
How to Change Lacie from Read-Only on Mac Without Formatting
How Do I Change Permission on Lacie Hard Drive?
Since macOS does not support any drives running on NTFS, it makes the drive read-only. Users will only be able to bypass the problem by following a few steps given below. If you are facing the same issue with your Mac, read this article and follow the steps given below.
The best tool to use to access NTFS file drives in macOS is EaseUS. This is a tool that helps to unlock the read-only drives and lets users copy files from the drive. Run the tool to make sure you can freely edit, delete or write any files inside a drive which is in NTFS format. Users can enable the write mode in the tool with the help of one single click. Users can safely eject any NTFS drives without any loss of data or security breaches. The tool is also known to support all the latest Apple computers with M1 chips and macOS 12.0.
If you are looking to use the tool, make sure to log in to the tool and use the trial version. The trial version is available for free for the users for the first seven days. Users can try out the tool before deciding on subscribing to the tool. The tool also helps users to mount and unmount NTFS drives. Users will not have to go through the Terminal to manually mount partitions in the drive. The tool has its icon available in the Mac status bar, with the help of which users can quickly mount or unmount the Lacie NTFS drive.
If you are thinking of getting this tool on your macOS, you simply need to visit the EaseUS and download the application from there. Once users log in, creating an account with their details the 7 day trial period will start immediately. Users will have to input their credentials and credit card details when they will be creating an account on the website.
Step 1. Launch and activate EaseUS NTFS for Mac. Click "I already have a license" to unlock this software.
Step 2. Connect an NTFS drive to Mac, EaseUS NTFS for Mac will automatically detect the device. Select your drive and you'll see it's now marked as 'Read-only". Click "Enable Writable" to add read and write rights to the drive.
Step 3. When the state of NTFS drives turns into "Writable".
Step 4. EaseUS NTFS for Mac will pops up a window to help Mac get access to the NTFS drive:
Step 5. When EaseUS NTFS for Mac restarts, you can then open to check, read, write, and even modify saved data on the NTFS device.
The Terminal is the easiest way that users can edit different settings from macOS. Since this process is entirely one-way, reversing things in the Terminal can be impossible. The process of accessing the Terminal is quite risky as it might end up corrupting all the data.

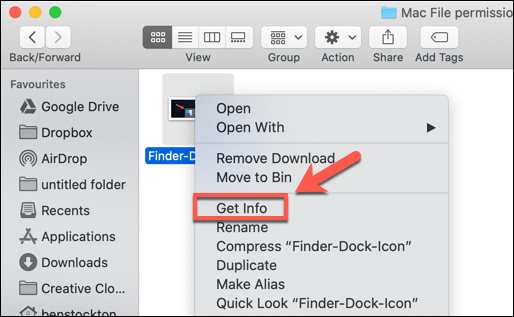
The permission setting is done to determine who can view or change the files on it. The permission settings can be altered from the info window for any folder or file. Follow the steps given to change the permission settings.
If you use Lacie hard drives quite a lot and switch from Microsoft operating system to macOS, you will face read-only issues at times. These problems can be fixed easily by using the EaseUS tool. All Lacie drives in NTFS format can be easily accessed with help of this tool. The tool is quite self-explanatory and users will not be facing any kind of issues while using this. There are other tools available in the market, but none of them are as safe as EaseUS.
Related Articles - ALSO ON EaseUS SOFTWARE
How to Fix Toshiba Read Only on Mac Error in 2026
![]() Banu/2026-01-05
Banu/2026-01-05
Can't I Format My USB to FAT32 Mac
![]() Banu/2025-06-26
Banu/2025-06-26
Mount External Hard Drive Mac Terminal [All Details You Need]
![]() Cici/2025-11-11
Cici/2025-11-11
Can High Sierra Write to NTFS? Yes or No - EaseUS
![]() Banu/2025-06-26
Banu/2025-06-26
Copyright © 2004 - 2023 EaseUS. All rights reserved.


