- Store
-
Support CenterGuides, License, ContactDownloadDownload installerChat SupportChat with a TechnicianPre-Sales InquiryChat with a Sales Rep
This page directly answers the question 'Is NTFS compatible with Mac' and presented you with 2 reliable solutions that you can follow the respective steps to configure Mac work with NTFS drives. How to do so? Let's get started here.
Table of Contents
Is Mac compatible with NTFS? Follow this page, you'll get a direct answer here. Don't worry if you are unable to edit or modify the NTFS drive on a Mac computer. With the provided methods, you can get Mac to recognize NTFS drive and make it writable immediately. Let's go.
In a word, on a Mac computer, you can only view content in an NTFS drive but can't make any changes to the saved files and data, including editing, copying, deleting, and even transferring.
Why is that? According to the NTFS definition, NTFS is the default file system of the Windows NT family as a proprietary journaling file system developed by Microsoft. It's more stable and reliable in comparison to FAT, HPFS, etc., file systems with better performance. Unlike Linux and BSD, macOS comes with read-only support for NTFS. Strictly, NTFS is only particle compatible with Mac.
Yes, but you can't directly use NTFS on Mac. As macOS only have read support for NTFS-formatted devices, to make use of NTFS storage devices on an external hard drive or USB flash drives on Mac, you'll need to do some works to make the Mac computer recognize and access your NTFS drives.
How to do so? Here we collected 2 direct methods that can you can follow either one to make Mac compatible with NTFS without formatting. Let's see.
EaseUS Editors' Pick: For an all-in-one solution, EaseUS NTFS for Mac tool deserves your trust as it supports to automatically enables NTFS write support on Mac.
Let's see how to make Mac compatible with NTFS and make use of your drives now.
EaseUS NTFS for Mac is a newly developed tool by EaseUS software, aiming to provide users with a convenient solution to make NTFS-formatted devices compatible with Mac. It offers a 1-click solution that you don't need to take any extra operations in configuring NTFS write support on Mac.
| Pros: | Cons: |
|---|---|
|
|
You can now click the download button here and get this 1-click NTFS for Mac tool for help.
Note: For data transferring between Windows and Mac via NTFS drives, please safely eject your drives from a Windows computer.
Step 1. Launch and activate EaseUS NTFS for Mac. Click "I already have a license" to unlock this software.
Step 2. Connect an NTFS drive to Mac, EaseUS NTFS for Mac will automatically detect the device. Select your drive and you'll see it's now marked as 'Read-only". Click "Enable Writable" to add read and write rights to the drive.
Step 3. When the state of NTFS drives turns into "Writable".
Step 4. EaseUS NTFS for Mac will pops up a window to help Mac get access to the NTFS drive:
Step 5. When EaseUS NTFS for Mac restarts, you can then open to check, read, write, and even modify saved data on the NTFS device.
After this, you'll be able to open the NTFS drive and access the saved files on Mac computers by transferring files, modifying documents, adding new pictures, or even delete unwanted data as you like.
The other more complex but workable solution to replace NTFS for Mac tool is turning to the Terminal command for help on a Mac computer.
| Pros: | Cons: |
|---|---|
|
|
To get your Mac computer to recognize the NTFS drive on a Mac computer, please be very careful while inputting command lines in Terminal. Here are the steps that can help:
Step 1. Connect your NTFS drive - external hard drive or USB flash drive to a Mac computer.
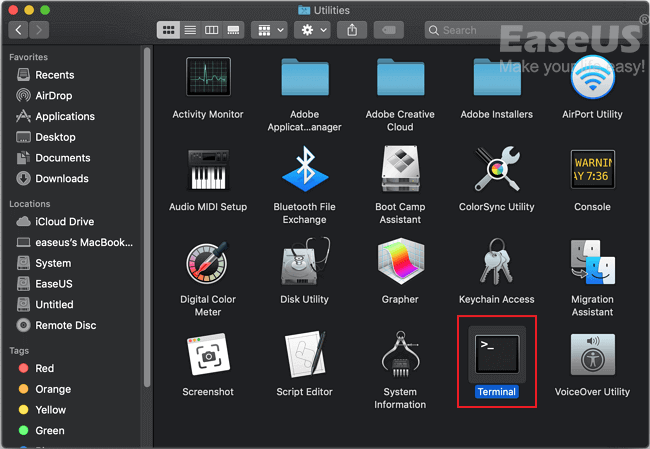
Step 2. On Finder, click "Applications" > "Utilities", and double-click "Terminal" to launch the utility.
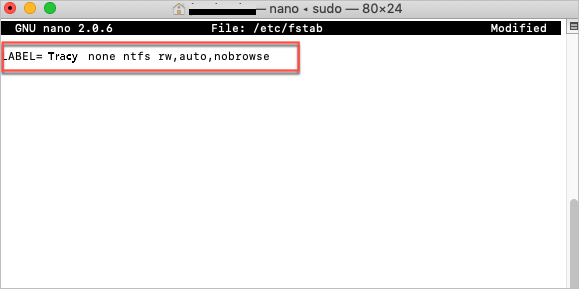
Step 3. Type sudo nano /etc/fstab in Terminal and press "Return".

Step 4. Type LABEL=NAME none ntfs rw, auto, nobrowse in Terminal, view and replace NAME with the real name of your NTFS drive.
Step 5. Press the "control + O" keys to save all the changes.

Now, you should be able to access the NTFS drive on Mac.
Step 6. Press "control + X" keys to exit Terminal.

Step 7. On Finder, click "Go" > "Go to Folder" > Type "/Volumes" and click "Go".
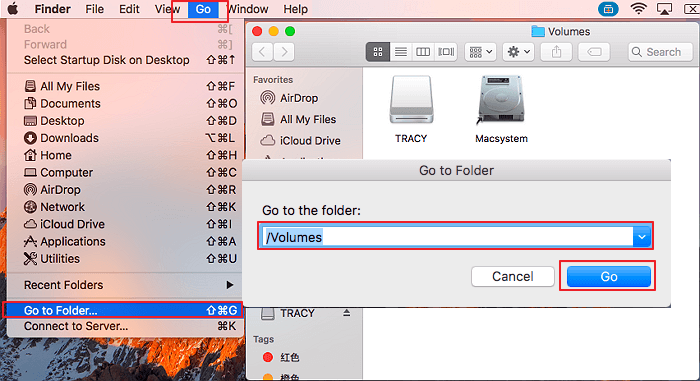
Now you can go and open your NTFS drive on Mac and make use of files on it.
According to some Mac users, they replied that they can directly use FAT as the device format for data transferring between Windows and Mac without any obstacles.
Indeed, but the thought is not completely right. Here are the reasons:
So, is NTFS for Mac necessary? Yes, to obtain the best performance of your drive, guarantee stable device writing and reading speed, make full use of device spaces, NTFS is better than NTFS on external hard drives.
This page answers the question of 'Is NTFS Compatible with Mac' and the answer is partially compatible. On a Mac computer, without configuration, you can only read files and view the device content.
To transfer files, edit saved documents, or even adding new data to an NTFS drive on a Mac computer, you'll need to enable NTFS write support. To do so, EaseUS NTFS for Mac is easier to use. It just needs one click, you can make everything writable on the NTFS drives.
As NTFS is widely used on big external storage devices and it's more reliable in data transferring, don't format your NTFS drives on Mac. You can make Mac to compatible with NTFS with the presented solutions here. Follow to make NTFS drive accessible on Mac now.
Related Articles - ALSO ON EaseUS SOFTWARE
Can Mac Use NTFS? 2026 Full Guide Here
![]() Cici/2026-01-05
Cici/2026-01-05
Solved: Can't Delete Photos From SD Card on Mac - 2023 New
![]() Sherly/2025-11-11
Sherly/2025-11-11
Easy Ways to Mount NTFS on Mac | How to Mount NTFS Drive on Mac
![]() Banu/2025-06-26
Banu/2025-06-26
How Do I Wipe a NTFS Drive on Mac and Windows [2023 Guide]
![]() Daisy/2025-06-26
Daisy/2025-06-26
Copyright © 2004 - 2023 EaseUS. All rights reserved.


