- Store
-
Support CenterGuides, License, ContactDownloadDownload installerChat SupportChat with a TechnicianPre-Sales InquiryChat with a Sales Rep
Are you looking for a solution to convert NTFS to APFS without losing your data? Here's a complete guideline to follow for safe and secure NTFS.
Table of Contents
When they switch from a Windows platform to an Apple device, most people using an NTFS formatted external drive face issues while editing and transferring their files. This happens because NTFS is a Microsoft formatted drive that lets you read the drive on Mac, but you cannot write on this Microsoft formatted NTFS drive.
Apple migrated its users to a new, modern files system called Apple Files System to take equal advantage of flash and storage devices. APFS has replaced all the previously installed files systems such as HFS+ and MacOS extended and is now the default system in all its latest devices containing the macOS High Sierra.
NTFS
New Technology Files System or NTFS is a Windows formatted drive that replaced the FAT32 files system for Windows 7, Windows 8, Windows Vista, Windows 10, and Windows NT. This files system has many advantages, including:
NTFS has various advantages and is preferred by most operating systems. But it is only capable of providing read-only support for macOS. It cannot provide write support on Mac devices.
APFS
APFS is the recommended files system for SSDs and flash devices. However, Windows doesn't support APFS; you can neither read nor write APFS files on Windows. This system offers a ton of benefits that can be availed by converting your files system to APFS, including:
There is a gap that exists between Mac file System and Windows NTFS drives.
If you want to convert your NTFS to an APFS files system, then you should follow these simple methods:
Disk utility is a built-in utility in Mac that lets Mac users perform disk-related tasks efficiently. To convert your NTFS drive to APFS using the disk utility, you can perform these simple steps:
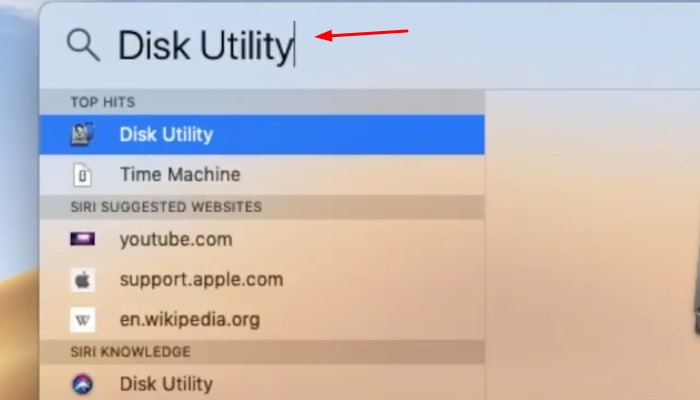
Step 1: Go to utility and select Disk Utility
Step 2: Right-click on NTFS drive and select "Convert to APFS"
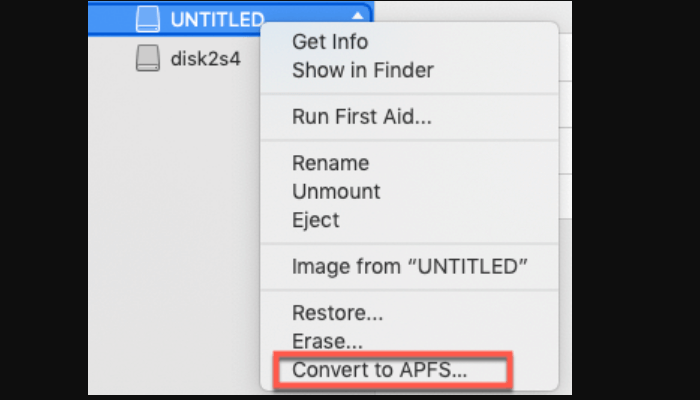
Step 3: Wait till the conversion process is complete.
This is the easiest and the most convenient method to convert your NTFS drives to APFS.
Another method that can let you convert NTFS to APFS is by reformatting NTFS via disk utility. The detailed steps are mentioned below:
Step 1. Back up all data:
Step 2. Reformat Disk
Mac's built-in utility, Disk Utility, does not allow you to format an NTFS drive. Fortunately, you have third-party software options. EaseUS NTFS for Mac can help you format NTFS drives to other target file formats, such as APFS, with one click. It's easy to use, especially for novice users. It makes the entire formatting process very easy, making NTFS compatible with Mac with simple steps.
Step 1. Launch EaseUS NTFS for Mac on your Mac, click "I already have a license" and enter your code to activate this software.
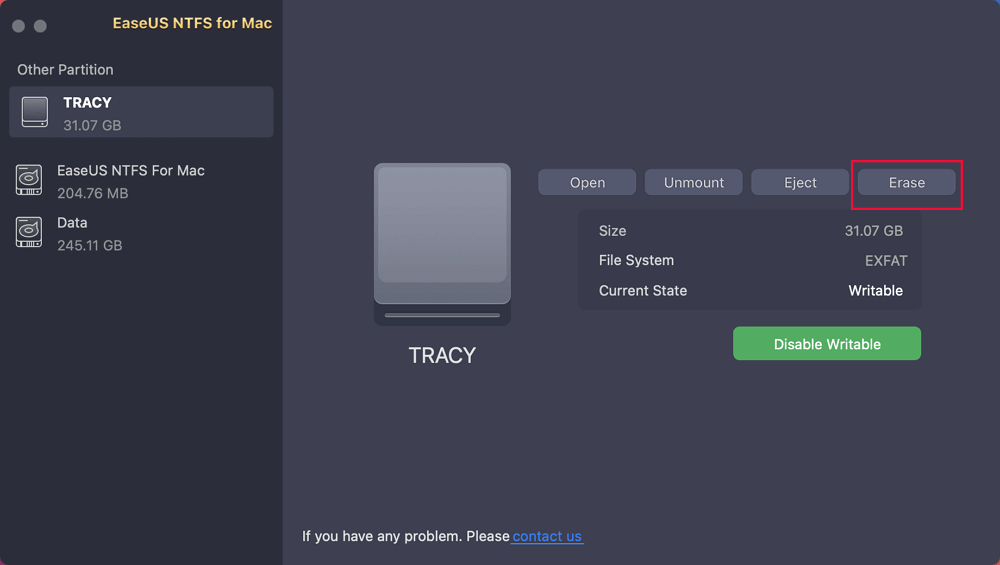
Step 2. Connect the target external hard disk to your Mac, locate it and choose "Erase" to move on.
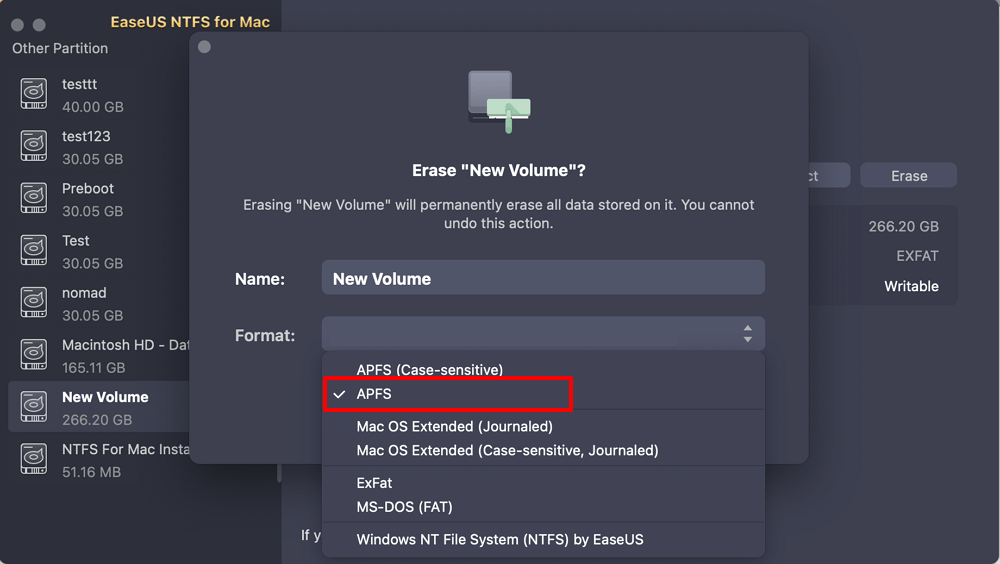
Step 3. In the Format box, select the "APFS" option in the scroll down menu as the new file system.
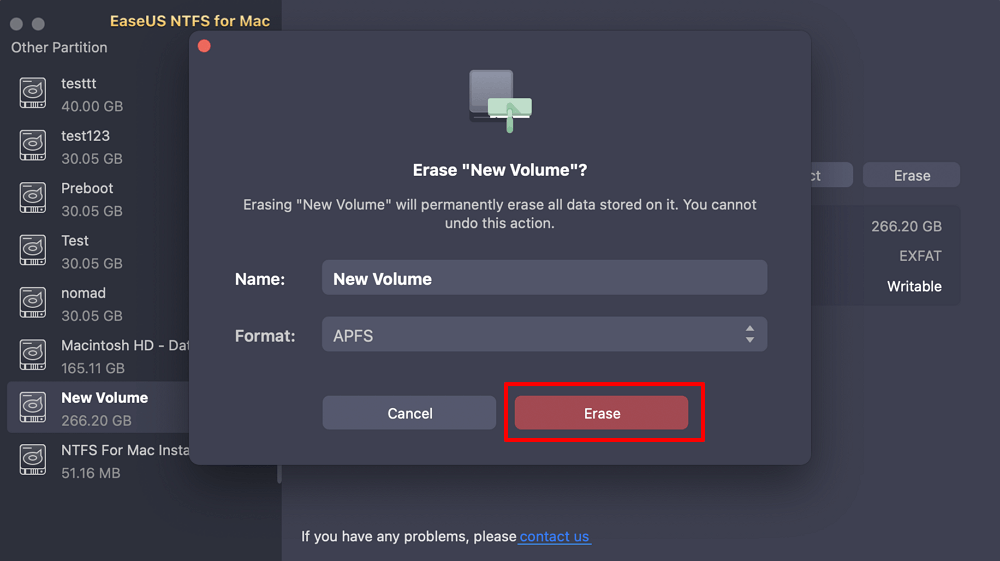
Step 4. Hit on the "Erase" button to confirm the format action and erase all data stored on this external storage device.
After following the steps, you will have your APFS file format.
If you don't want to wait for reformatting or back up your data, you can use EaseUS NTFS for Mac. EaseUS NTFS for Mac is a robust software that allows reading/writing to NTFS drive. If you want to get the authority to edit, copy, delete, transfer files/folders, EaseUS NTFS for Mac can help you.
We recommend using third-party software to convert NTFS to APFS. You can use this professional software to format and mount NTFS drives in both read and write formats.
EaseUS NTFS For Mac is a comprehensive and professional NTFS tool for Mac. It lets you efficiently work with drives formatted to NTFS format. This software provides an easy-to-use interface that allows the users to quickly edit, read, write and delete files on their Windows NTFS volumes.
Here are some exceptional features offered by this handy tool that makes it the best choice for users to choose the EaseUS NTFS tool:
Besides these features, this software can also unmounts, eject, and erase NTFS disks. Steps of how to use EaseUS NTFS for Mac to enable writable NTFS drive on Mac are listed below:
Step 1. Launch and activate EaseUS NTFS for Mac. Click "I already have a license" to unlock this software.
Step 2. Connect an NTFS drive to Mac, EaseUS NTFS for Mac will automatically detect the device. Select your drive and you'll see it's now marked as 'Read-only". Click "Enable Writable" to add read and write rights to the drive.
Step 3. When the state of NTFS drives turns into "Writable".
Step 4. EaseUS NTFS for Mac will pops up a window to help Mac get access to the NTFS drive:
Step 5. When EaseUS NTFS for Mac restarts, you can then open to check, read, write, and even modify saved data on the NTFS device.
To solve the read-only issue formatting NTFS would help. It is an excellent option to data backup your NTFS to APFS to prevent data loss to avoid any data loss or other cases. Moreover, you can enjoy all the numerous benefits this new format has to offer. If you don't want to reformat your drive you can use the EaseUS NTFS for Mac and enjoy using your NTFS conveniently.
You can follow this simple set of procedures and ensure that your WD external drive is converted to APFS format. Give this tool a try.
Related Articles - ALSO ON EaseUS SOFTWARE
Free Download NTFS for Mac Software with Serial Number 2026
![]() Banu/2026-01-05
Banu/2026-01-05
How to Fix LaCie Hard Drive Not Showing Up on Mac (5 Practical Methods)
![]() Banu/2025-06-26
Banu/2025-06-26
Can't Delete Files From SD Card on Mac [Reasons and Fixes]
![]() Sherly/2025-07-07
Sherly/2025-07-07
Full Guide to Permanently Delete Files from NTFS Drive on Mac 🎈
![]() Banu/2025-06-26
Banu/2025-06-26
Copyright © 2004 - 2023 EaseUS. All rights reserved.