
When attempting to delete a file, you may see an error message pops up on your screen that the file is protected. Besides removing the file protection, you are not allowed to make any changes to it.
In such a case, it would be inconvenient. Don't Fret. This post will describe how to unlock a file as well as how to delete protected files. First, you may use the five ways listed below to remove file protection on Windows 11/10/8/7.
- 1. Change File Permission
- 2. Unlock Write Protected SD Card or USB Drive
- 3. Decrypt File with Windows Built-in Encryption Tool
- 4. Remove .exe Protected Files via File Lock Software
- 5. Remove Write Protection Using CMD
Part 1. How to Remove Protection from Files in 5 Ways
Let's have a look at how to remove protection from files with step-by-step guides.
Method 1. Change File Permission
If you want to make changes to a single file but cannot do so, the file may be write-protected. Here's how to enable writing permission.
Step 1. Open Windows File Explorer, select the file, and click on "Properties".
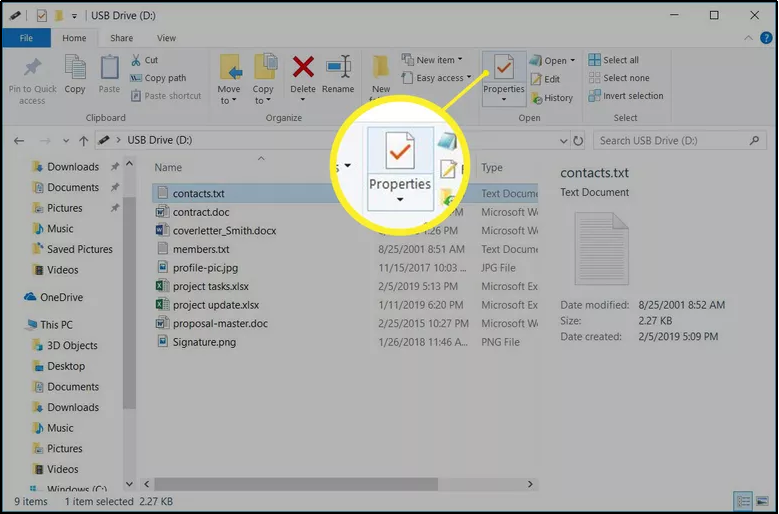
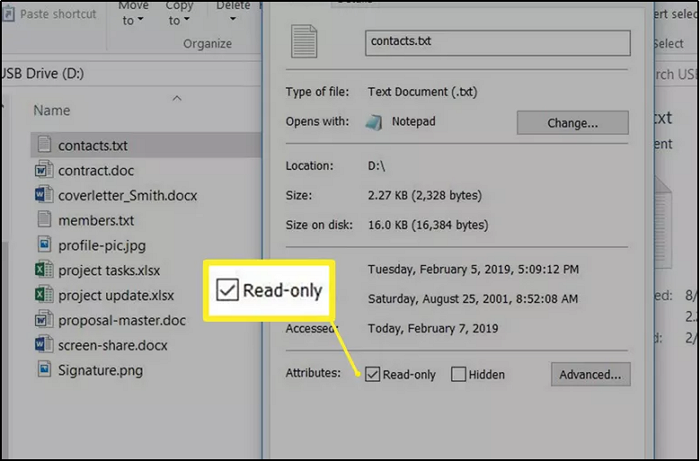
Step 2. In the Properties dialog box, select Read-only to remove the checkmark and tap on "OK."
Method 2. Unlock SD Card or USB Drive
In Windows, there are several methods for removing protection from USB devices or SD cards. One of the most popular methods is to edit the Registry. The procedures for removing write protection from a USB drive or SD cards are as follows. But before you begin, connect your write-protected USB drive or SD card to your computer.
Important: Before doing any changes, back up the Windows Registry. If you make a mistake and have difficulties with your computer, you can restore the Registry and restore it to its original form.
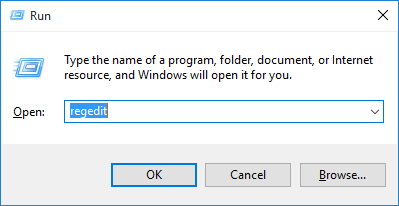
Step 1. First, click on Win+R and then type Regedit to open Registry Editor.
Step 2. Now search for the following path to look for a key named WriteProtect:
HKEY_LOCAL_MACHINE\SYSTEM\CurrentControlSet\Control\StorageDevicePolicies
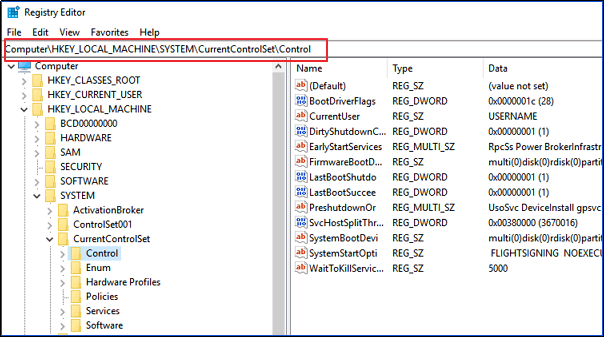
Step 3. If this key already exists, right-click it and choose "Modify" to alter the value from 1 to 0.
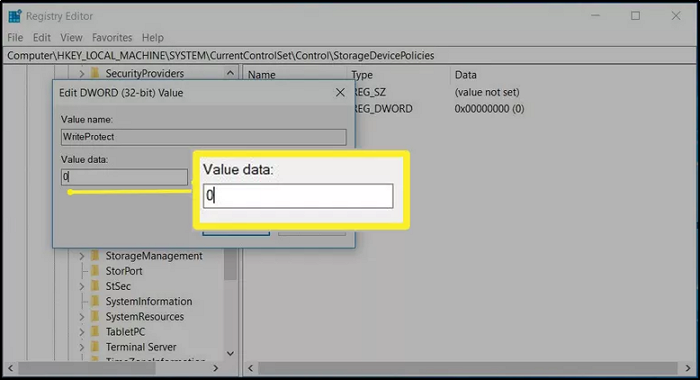
Step 4. Finally, in the end, close Regedit and restart your computer.
Note: Check to see whether the USB is now working correctly after the reset. This method disables write protection on all of your drives, so your USB should be writable again. Be aware that changing the Windows Registry on your own might cause problems with your computer, so it's best to follow our steps carefully not to revisit it.
Method 3. Decrypt File with Windows Built-in Decryption Tool
RAR files can also be decrypted with the Windows Attributes Utility without a password. Note that this technique may cause you and even your PC to corrupt your files. It is therefore only suggested to Windows users that are highly qualified.
Step 1. Press the Windows-E button on your keyboard and go to your desired file location.
Step 2. Right-click on the name of the file and click on "Properties".
Step 3. On the General tab in the attributes section, click the "Advanced" button.
Step 4. Uncheck the "Encrypt Secure Data" box next to it, then click "OK."
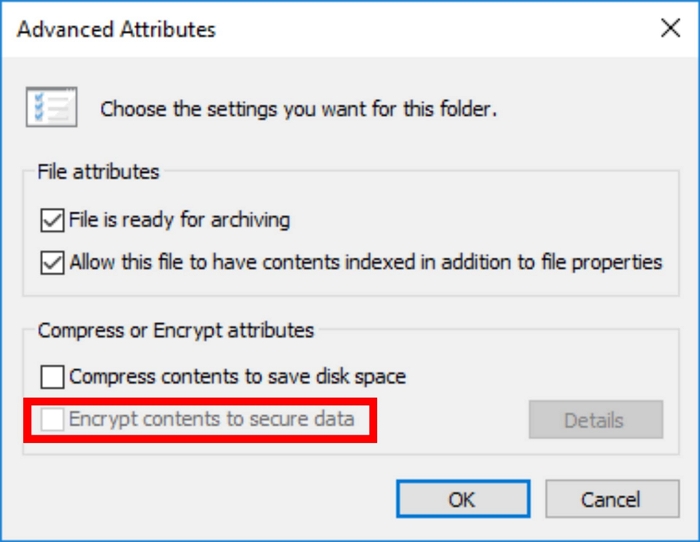
Step 5. To close the file properties, and finish decryption of the file, click the "OK" button.
Method 4. Remove .exe Protection and Release File via File Lock Software
Using a professional file lock and encrypt application is the simplest and safest method to remove.exe protection and release the file. But the premise is that you also use this software to encrypt and protect files.
EaseUS LockMyFile is a secure and reliable file security software for Windows 11/10/8/7 that can hide, lock, encrypt, and protect files on local and external hard drives.
The following are the main functions of EaseUS LockMyFile.
- A user-friendly graphical user interface that is simple to use for both computer novices and experts.
- Hide files or folders on a disk, as well as on a USB flash drive, pen drive, or any external hard drive.
- The read-only option prevents files, folders, and drives from being modified or deleted. Newly inserted files will be automatically secured.
- Using a powerful AES encryption technique, encrypt a zip file, documents, emails, and other files and folders to GFL or EXE format files.
The following steps show you how to decrypt and remove protection from a file with EaseUS file lock tool.
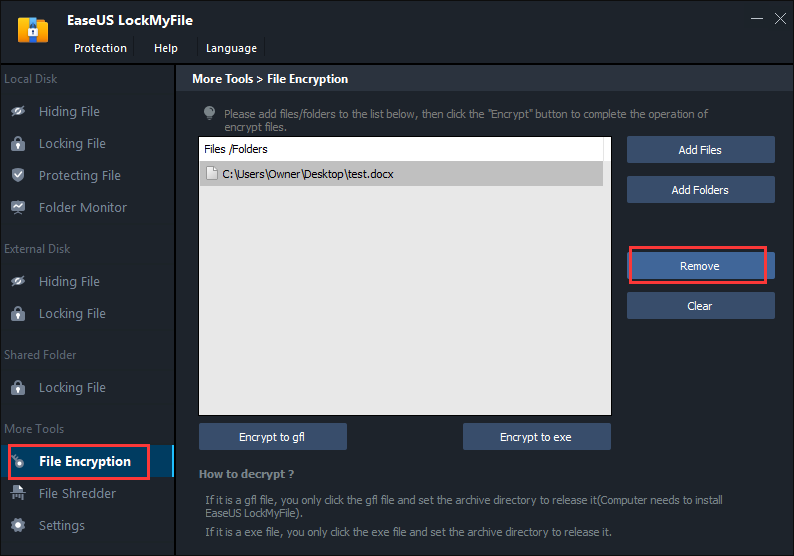
Step 1. Open EaseUS LockMyFile on your Windows computer. Choose File Encryption on the left panel.
Step 2. Select the encrypted file and click "Remove" to remove its protections.
Method 5. Remove Write Protection Using CMD
Using Command Prompt is another excellent method to remove write protection and resolve the disk write-protected problem. If you are acquainted with CMD, proceed as follows:
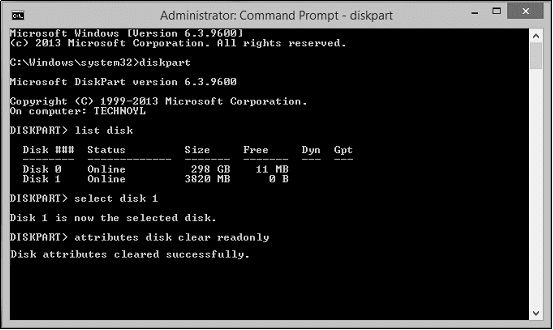
Step 1. First, open the start menu and type "Run", and then in run administrative, type cmd to open Command Prompt.
Step 2. Now type the below highlighted commands and after every command, make sure to hit the "Enter" button.
diskpart
list disk
select disk #
attributes disk clear readonly
# is the number of the write-protected flash drive or memory card.
Step 3. Finally, in the end, click on the "Exit" button to come out of the Command Prompt.
Reboot your PC and see if you can access and use the file again.
Part 2. Delete Files After Removing File Protection
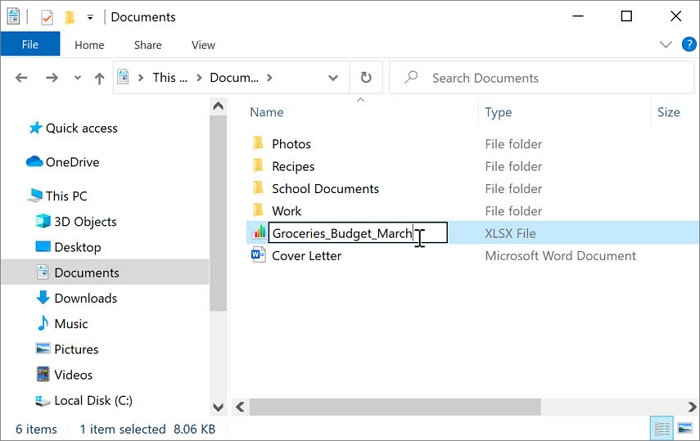
To remove a file or a group of files, launch File Explorer and navigate to its location.
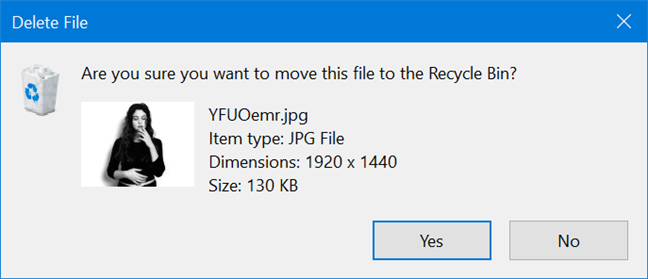
Step 1. Look for the file you wish to remove and select it by clicking or tapping on it. By pressing and holding the "CTRL" key, you can choose several files.
Step 2. Press the "Delete" key on your keyboard to choose the Delete option from the context menu.
Step 3. When you remove files, Windows 111/10 does not ask for confirmation by default, but if your Recycle Bin is set to display a delete confirmation popup, confirm the procedure by pressing "Yes".
Conclusion
This page provides five methods on how to remove file protection. If you're wondering how to delete protected files on Windows 11/10/8/7, the instructions above will get you there.
We also recommend utilizing the EaseUS LockMyFile tool if you need to lock and protect your files in no time!
Related Articles - ALSO ON EaseUS SOFTWARE
-
Calculator Lock - How to Hide Photos on Android, iPhone, and PC
![Jean]() Jean/2025-04-15
Jean/2025-04-15
-
Remove Write-Protection - How to Delete Write-Protected Files
![Jean]() Jean/2025-04-15
Jean/2025-04-15
-
[Sloved] How Do I Password Protect Folders/Files in Windows 7
![Jean]() Jean/2025-04-15
Jean/2025-04-15
-
How to Hide A Folder on A USB Drive | Unhide Files on USB Flash Drive
![Jean]() Jean/2025-04-15
Jean/2025-04-15