NTFS for Mac
- System Requirements
- Preparation
- Activation
Welcome
Microsoft NTFS is one of the most commonly used file systems of Windows. However, writing and editing files from a hard drive formatted to NTFS on a Mac computer is still a barrier.
EaseUS NTFS for Mac grants MacOS users access to an NTFS drive. With the support of this tool, MacOS users are able to mount/unmount NTFS drives on a Mac computer, as well as editing the files inside the drive.
Getting Started
System Requirements
All the Mac OS versions starting from MacOS 10.6 are supported by the software.
Make sure that you use the corresponding product version on your Mac:
MacOS 13. x and above: v3.0
MacOS 12. x, MacOS 11.x, MacOS 10.6 - 10.15: v1.1
Preparation
To enable EaseUS NTFS for Mac to read and write external NTFS drives on a Mac with M series chips, you will need to go to the Recovery environment to enable system extensions first.
You can click here to get a tutorial on how to enable system extensions.
Activation
When first running the Trial version of EaseUS NTFS for Mac, a window pops up advising you to start a 7-day trial period or input a license code to activate the product.
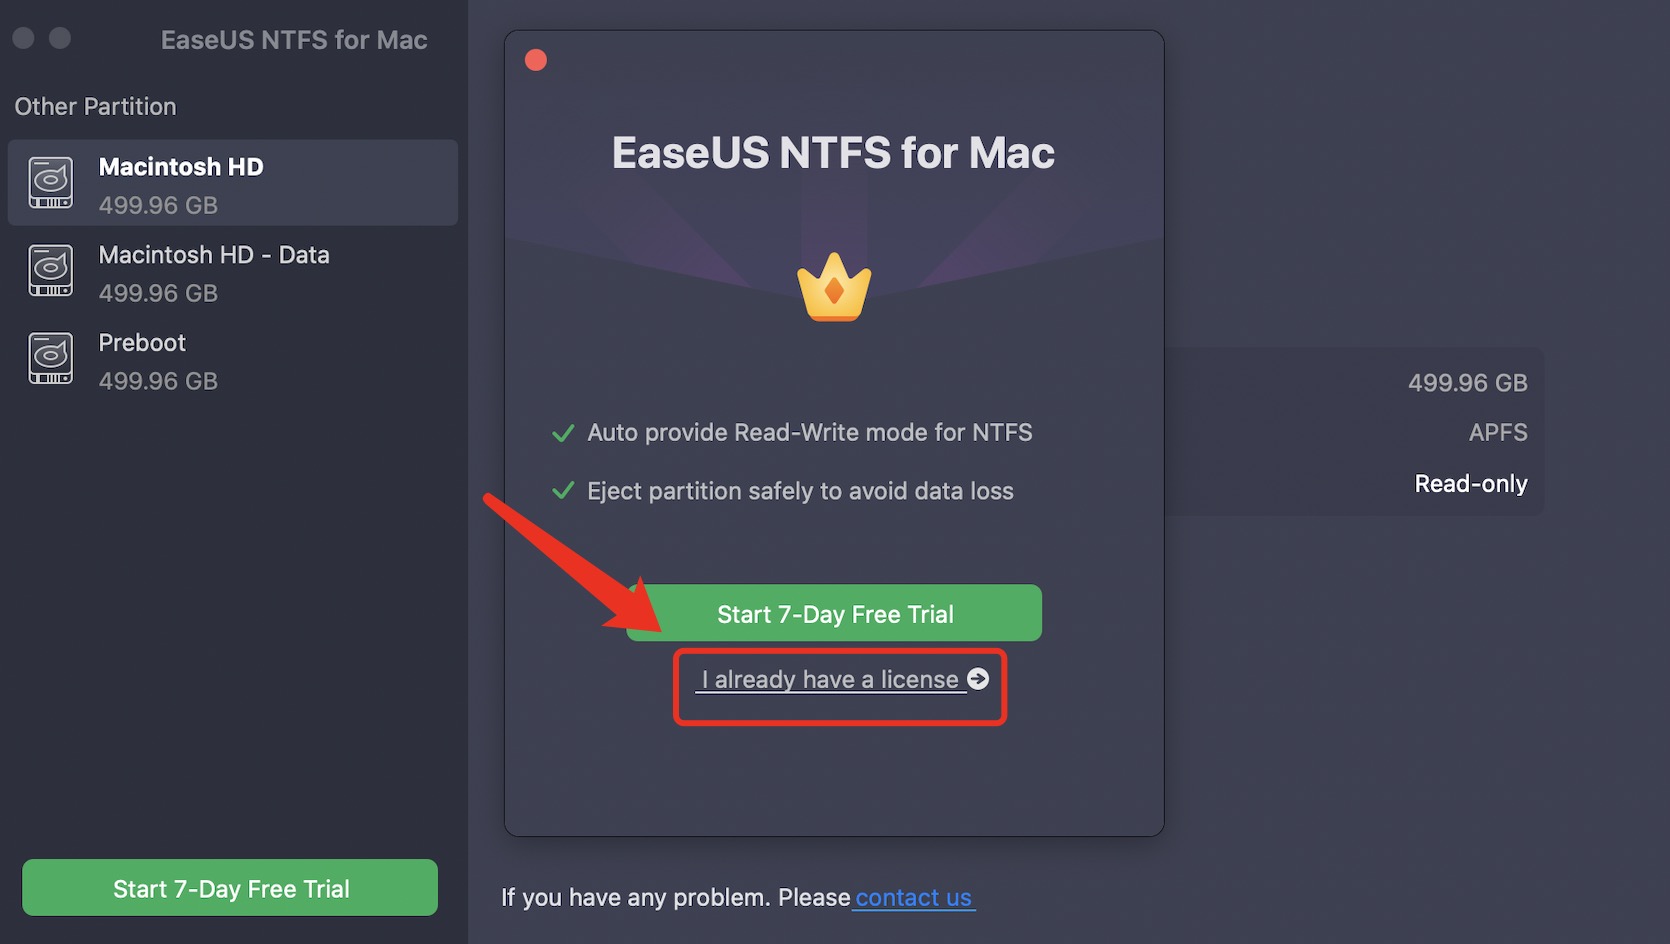
If this prompted window is skipped, you can always retrieve the activation page by clicking the Start 7-Day Free Trial button.

Choose a plan at your needs, or, if you already own a license code for EaseUS NTFS for Mac, click I already have a license, and insert your license code to activate the product.


Features
When an NTFS drive is connected to your Mac computer, it will be automatically detected by EaseUS NTFS for Mac and will be listed under the NTFS partition section. All the other drives, including your Macintosh HDD, are listed below, in the Other Partition Section.

1. Mount/Unmount
The drive will be automatically mounted once it is connected to the Mac. You can unmount it in the product when needed. The drive cannot open once unmounted.
2. Enable Writable/Disable Writable
The files in the NTFS drive will be read-only if the writable feature is disabled. If you need to add, edit, or remove files from this NTFS drive, please first click Enable Writable to grant full access to the NTFS file system.
3. Open
Click Open to view all the files in the NTFS drive in a new window.
If the writable is disabled, all the files will be listed in a separate window. The files in this window cannot be modified or removed.

All the available options for the files are listed as below:

Note: If you choose to copy this file in this mode, the new copy will be saved to the desktop on your Mac.
If the writable is enabled, all the files in the drive will be listed in a new Finder window. You will be able to add, import, edit, or remove files from this drive in this window.

4. Erase
If you wish to reformat your external drive to a different file system for future use, you can utilize the Erase feature.
You can also quickly access Erase from the Tray.

The drop-down menu offers various commonly supported file systems, such as NTFS.


Simply select your preferred file system, continue with the process, and it will be completed within a few seconds. All the data stored on this drive will be erased during the process, please ensure you moved out all your data before you proceed.

5. Eject
Click Eject to safely remove this NTFS drive from your Mac.
Tray
You can launch the tray at startup to get the quick access to your NTFS drive.


Feedback and Support
If you have any feedback, or suggestions on EaseUS NTFS for Mac, please do not hesitate to let us know. We are also enthusiastic about replying to all your questions about using it. Please feel free to contact us at:
We also provide an online chat service and the Live Chat option can be located in the top navigation bar of EaseUS's official website www.easeus.com.